 Seminole Siding
 Roofing on a Barrier Island Is Its Own Trade
Indian Shores sits on a narrow strip of land between the Gulf of Mexico and the Intracoastal Waterway, which means every roof here is doing more work than a roof ten miles inland in Seminole or Largo. Salt-laden air moves across the island constantly, sun exposure is close to year-round, and when a storm comes through, there's very little to slow the wind down before it hits a rooftop. An asphalt shingle roof installed the same way you'd install one in a landlocked subdivision will wear out faster and fail sooner in a wind event out here. That's not a knock on asphalt shingles as a product — it's just the reality of coastal roofing, and it's why the details of the install matter more on Indian Shores than almost anywhere else in Pinellas County.
This page is specifically about asphalt shingle roofing for homes and rental properties in Indian Shores — what the climate demands, what a correct installation actually involves, and how we handle the job from first inspection to final cleanup.
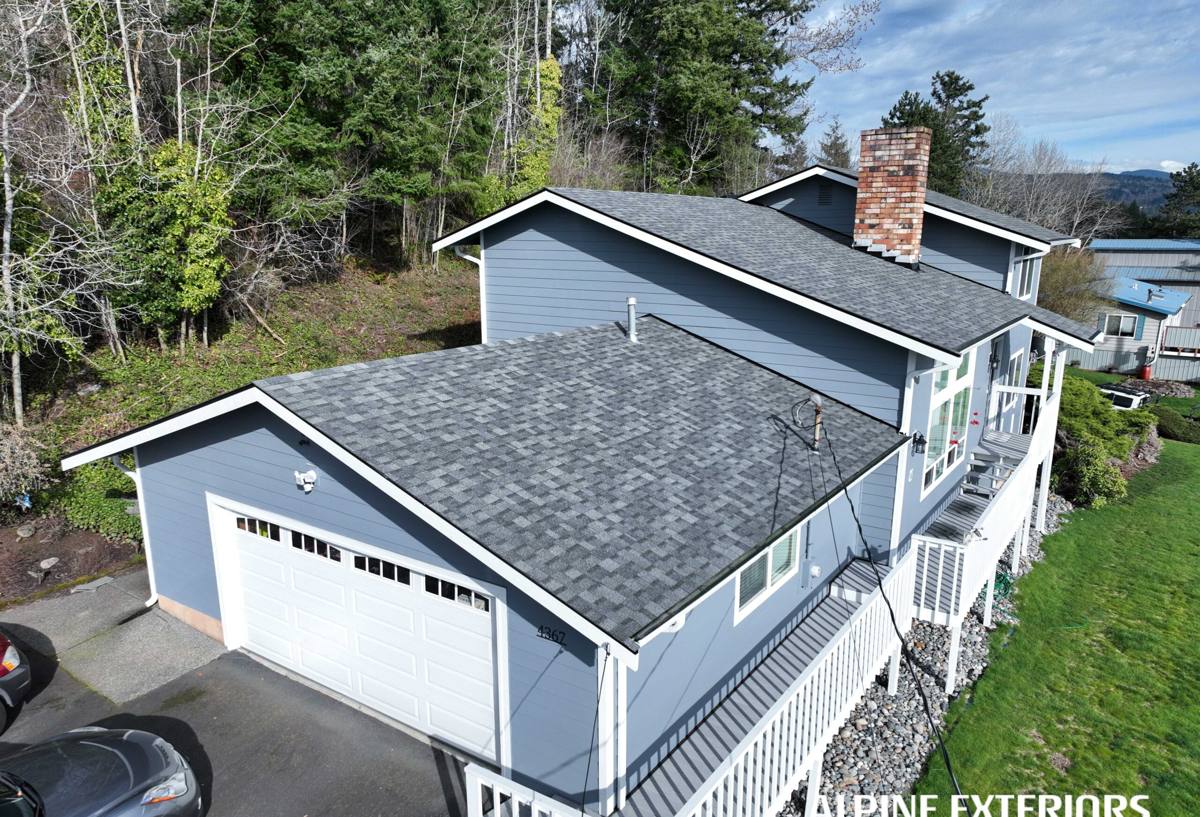
What the Climate Actually Does to a Shingle Roof
Salt Air and Corrosion
Airborne salt doesn't just affect metal railings and pool cages — it accelerates the breakdown of roofing fasteners, flashing, and vent components. Uncoated or poorly rated metal on a coastal roof corrodes noticeably faster than the same material would inland. Nails that back out slightly, valley flashing that pits and thins, and pipe boot collars that crack early are all more common close to the water.
UV Exposure
Florida sun is intense across the whole state, but a roof with no shade and open exposure to Gulf sunlight all day takes a harder hit. UV breaks down the asphalt in shingles over time, drying out the mat and causing granule loss, which is usually the first visible sign a roof is aging. On an exposed island roof, that clock runs faster than the shingle manufacturer's climate-average estimates assume.
Wind-Driven Rain and Hurricane-Force Wind
Wind is the biggest structural threat. It's not just the peak gusts in a named storm — it's the frequent strong wind events that test every seam, nail, and edge of a roof over and over across a season. Wind-driven rain gets pushed sideways and upward under shingle edges and around penetrations in ways ordinary rain never would, which is why underlayment and flashing details matter as much as the shingles themselves.
What a Correct Installation Involves Out Here
A shingle roof is a system, not a single product. On Indian Shores, every layer of that system needs to be chosen and installed with coastal conditions in mind:
- Deck condition — the roof deck underneath has to be sound and properly fastened before anything goes on top of it; skipping this step undermines everything above it.
- Underlayment — a synthetic or self-adhering underlayment rated for high wind and moisture exposure, installed with the correct overlap, gives the roof a real second line of defense if wind ever drives water under the shingles.
- Starter strips and edge treatment — roof edges and rakes are where wind uplift starts; proper starter shingle placement and edge sealing is one of the most common shortcuts taken on cheap installs, and it's one of the first things we check on tear-offs.
- Nailing pattern and fastener count — coastal wind speeds call for the higher end of manufacturer-specified nail counts, placed correctly in the nailing zone, not just "enough to hold it down."
- Flashing at valleys, walls, and penetrations — properly lapped, corrosion-resistant flashing at every transition point, since these are the areas where coastal roofs actually leak.
- Ventilation — balanced intake and exhaust ventilation keeps attic temperatures and moisture in check, which protects both the roof deck and the shingles from the underside.
Choosing a Shingle for Coastal Exposure
Not every asphalt shingle product is built the same, and the differences matter more here than in a low-wind, low-UV market. We walk homeowners through the trade-offs honestly rather than pushing whatever has the best margin:
| Shingle Class | Typical Wind Rating | Best Fit | Trade-Offs |
|---|---|---|---|
| Standard 3-tab | Lower wind rating | Budget-conscious rentals, sheds, secondary structures | Shorter service life on an exposed coastal roof; lowest upfront cost |
| Architectural / laminate | Higher wind rating, varies by product | Most primary residences on the island | Higher upfront cost; better wind and UV performance justifies it here |
| Impact-rated architectural | Highest wind rating tier | Homes seeking maximum wind performance or insurance credit | Highest material cost; check with your insurer on any premium impact |
We install to the manufacturer's high-wind installation instructions regardless of which tier a homeowner chooses, because the wind rating on the shingle wrapper only holds up if the fastening and edge details underneath it are done correctly.
Our Process, Start to Finish
1. Inspection and Assessment
We start by getting on the roof, not just looking at it from the driveway. We check the deck, existing flashing, ventilation, and the overall condition of the shingles to figure out whether the roof needs a full replacement, a targeted repair, or ongoing maintenance.
2. Honest Scope and Estimate
We explain what we found in plain terms, walk through the shingle and underlayment options that make sense for the exposure of that specific roof, and put together a written estimate with no pressure to decide on the spot.
3. Tear-Off and Deck Repair
Full replacements start with a complete tear-off so we can actually see the deck underneath, not just install over problems. Any soft, water-damaged, or improperly fastened decking gets replaced before anything new goes down.
4. Underlayment, Flashing, and Shingle Installation
We install underlayment and flashing to the standards described above, then install shingles to the manufacturer's high-wind nailing specification — not the minimum spec, the high-wind one.
5. Ventilation Check
We confirm intake and exhaust ventilation is balanced before closing out the job, since ventilation problems don't show up as leaks right away — they show up as premature aging and deck damage years later.
6. Final Walkthrough and Cleanup
We walk the finished roof and the property with the homeowner, and we clean up debris and nails from the yard and driveway before we call the job done.
Repair vs. Replacement: How We Decide
Not every roofing problem on Indian Shores means a full replacement, and we don't default to recommending one. The right call usually comes down to a few factors:
| Factor | Leans Toward Repair | Leans Toward Replacement |
|---|---|---|
| Age of roof | Younger roof, isolated damage | Near or past typical service life for the shingle class |
| Extent of damage | Localized — one valley, a vent boot, a section of ridge | Widespread granule loss, multiple leak points, curling across large areas |
| Deck condition | Deck is sound underneath the damaged area | Deck shows soft spots or water staining in multiple areas |
| Storm history | Minor, contained damage from a single event | Repeated wind or water damage over several seasons |
When a repair is the right answer, we do the repair. A roof that doesn't need full replacement yet shouldn't get sold one.
Maintenance That Actually Extends Coastal Roof Life
Asphalt shingle roofs on Indian Shores benefit from more frequent attention than the same roof would need further inland. A simple maintenance routine catches small problems before they become leaks:
- Visual inspection after any significant wind event, checking for lifted or missing shingles, especially at edges and ridges
- Clearing debris from valleys and gutters so water isn't held against the shingles or backed up under the roof edge
- Checking pipe boots and vent flashing periodically, since rubber and sealant components degrade faster in UV and salt exposure
- Trimming back overhanging vegetation to reduce debris buildup and moisture retention on the roof surface
- Scheduling a professional inspection every couple of years, or after any named storm that produced sustained winds over the property
Permits, Codes, and Insurance Considerations
Roofing work in Pinellas County requires a permit, and coastal properties like those in Indian Shores fall under the wind-resistance provisions of the Florida Building Code, which set minimum standards for fastening, underlayment, and edge details in high-wind areas. We pull the required permits and build to code as a baseline, not as an extra.
Many homeowners on the island also get a wind mitigation inspection done after a roof replacement, since certain roofing and construction features can qualify for insurance premium credits. We're glad to point homeowners toward that inspection process, though the credit determination itself is between the homeowner and their insurer.
Why Local Experience on Indian Shores Matters
A crew that regularly works barrier island properties in Pinellas County already knows what a shingle roof out here needs before they climb the ladder — the fastener specs, the flashing details, the ventilation balance, and the realistic lifespan expectations for a roof exposed to salt air and open Gulf wind. That's different from a crew whose experience is mostly inland roofs getting sent out to the coast on an unfamiliar job. We work on Indian Shores and the surrounding Seminole area regularly, and we build every roof to hold up to conditions we see firsthand, not conditions we're guessing at from a spec sheet.
If you're dealing with an aging roof, storm damage, or you just want an honest read on where your roof stands, we're happy to take a look. Request a free, no-pressure estimate using the form below, and we'll walk you through exactly what your roof needs and why.